Add a Signature to My Receipts
Now that you've created a new receipt template, add a signature to your receipts by following these steps:
1. Click on Settings
2. Click on Employees & Services
3. Select the desired employee
4. Click on Signature
5. Click on Upload Signature to add a photo of your signature. *Please consult the next sections of this article if you don't know how to create a new signature
6. Press on the Improve Image button to remove the background. *If your signature appears too small on your receipts, you can enlarge it by simply cropping the image
7. Click on the Save icon
To create a new handwritten signature:
1. Sign on a white paper with black ink
2. Take a photo of this signature in a well-lit area. *Another option would be to scan the document
3. Download the captured photo to your computer

To electronically sign by hand:
1. Open a word processing program, for example Microsoft Word
2. Open the Drawing tab
3. Select the Pen drawing tool
4. Sign with your mouse if you are on a computer or with your finger if you are on a tablet (e.g. iPad)
5. Take a screenshot of the text box and save it

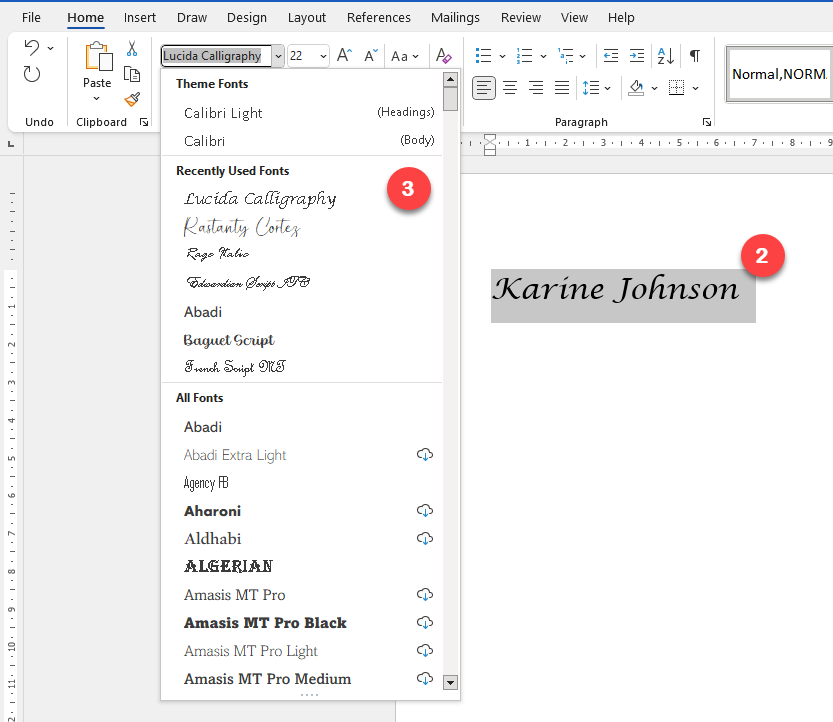
To create an electronic signature:
1. Open a word processing program, for example Microsoft Word
2. Write your name and select it
3. Change the font to cursive, for example Lucida Calligraphy or Handwriting
4. Take a screenshot of the text box and save it