Send an Email to All of My Clients at the Same Time
Here's how you can send a mass email to all of your customers at the same time:
Have all the email addresses of your clients on hand:
- In GOrendezvous, you must export your client list to access the list of email addresses of all your clients
- This export will create an Excel/Sheet file with several columns, such as email addresses, birthdays, date of last appointment, etc. You can also use filters to select only part of your customers
Send an email to all your customers via a platform like Mailchimp:
1. Visit the website www.mailchimp.com
2. At the top right on the page, click the Sign Up Free button. Follow the steps to activate your account  3. Once your account is activated, you will be able to choose an email template. For example, you could choose a basic template like "Basic 1 Column"
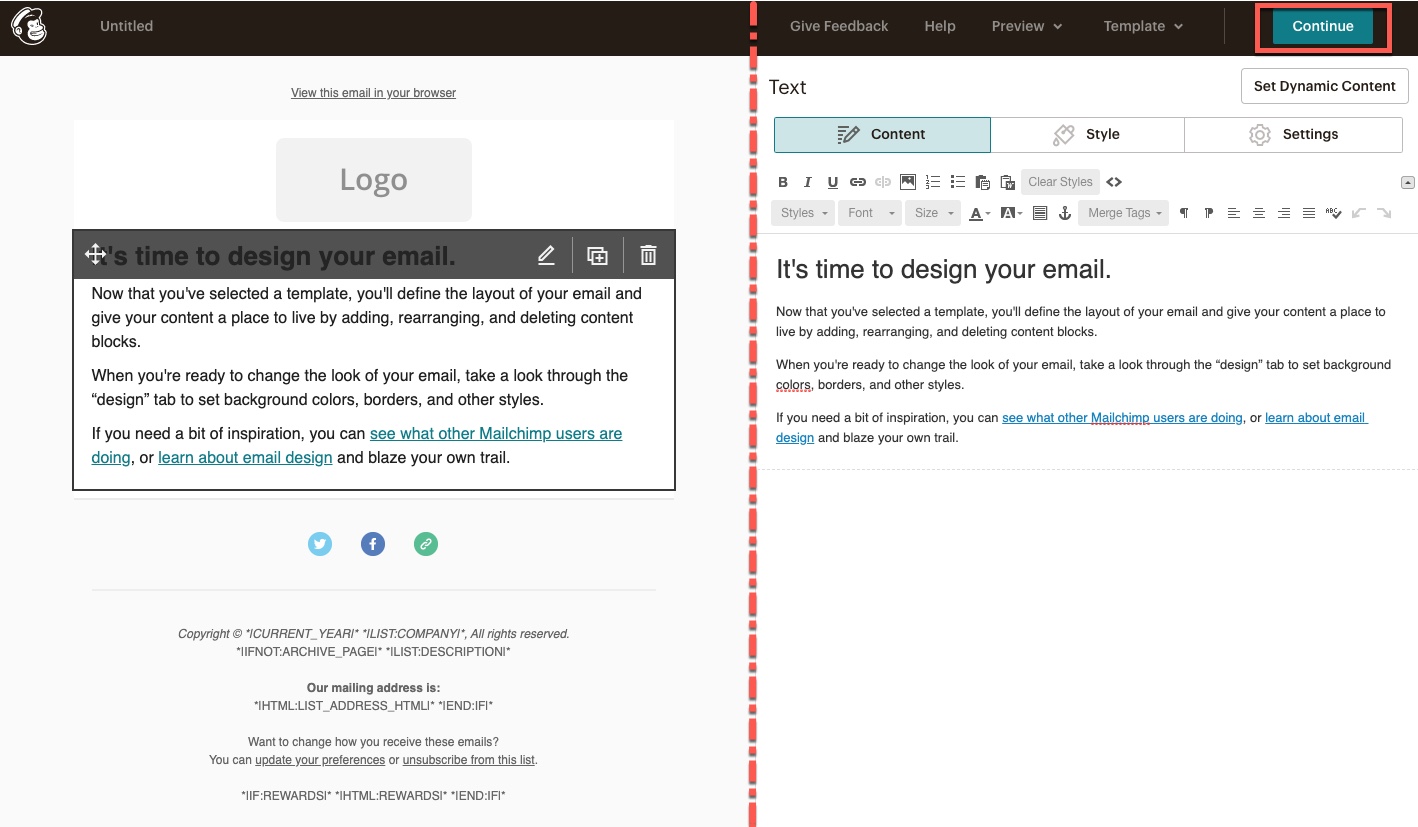
 4. On the left side, you have an overview of the email. This is where you can navigate through the different blocks of your email (logo, text, etc.) On the right side, you have the different options to modify the content of your email. It is therefore on the right side that you can add your logo or write your text
 7. You can choose the Copy/Paste from file option. So, from your Excel/Sheet file, you can select the information you want to copy, then paste it into Mailchimp

8. Go back to your Excel/Sheet file to copy all the rows and columns you want. For example, email address, name, etc.
9. Paste your data all at once in the section provided for this purpose on Mailchimp
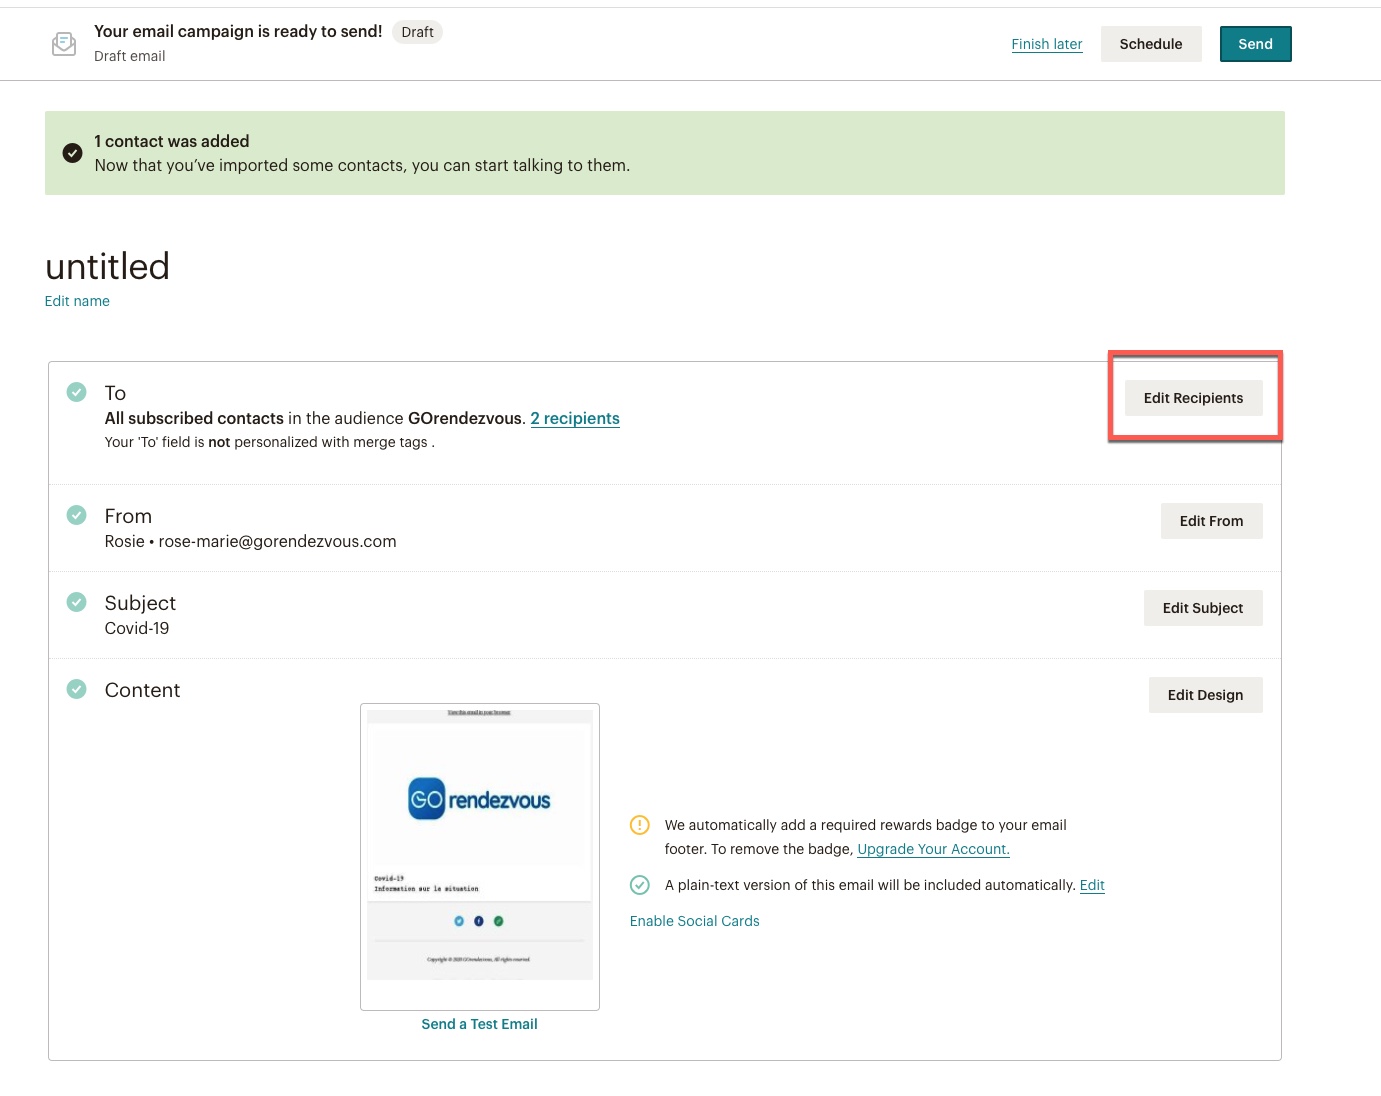
 10. Complete the following steps: confirm that the data is correctly associated with the correct fields, create a subject line to your email, etc.
11. Click on Send at the top right when you are ready to send your email

If you already have a Mailchimp account, you can send a new email directly from the top menu by clicking on Create > Email 🙂
